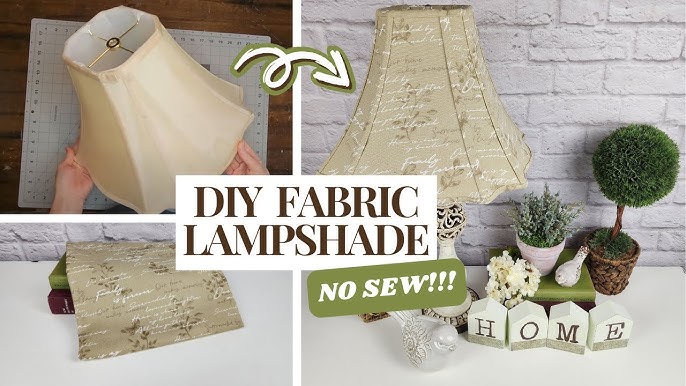
Breathing new life into an old lampshade is a simple and cost-effective way to refresh your home decor. In this tutorial, I’ll walk you through the process of recovering a lampshade using fabric, a glue gun, and some craft glue. This project is perfect for anyone looking to personalize their lighting or give a tired lampshade a stylish makeover.
Materials Needed
- Old lampshade
- Fabric of your choice (approximately 2 yards)
- Hot glue gun
- Tacky glue
- Xacto knife
- Iron
- Water-erasable pen
- Scissors
- Dawn Power Wash (optional, for cleaning)

Step 1: Preparing the Lampshade
Remove Existing Trim
Begin by carefully removing the bias tape trim from the lampshade. Save these pieces, as they’ll serve as a template for your new trim later.
Expose the Inner Lining
Examine the lampshade’s construction. In this case, the lampshade had an inner lining and an outer cover. Instead of completely removing the inner lining, use an Xacto knife to carefully cut away the outer fabric along the top edges of the frame. Be cautious not to damage the inner lining.
Clean the Inner Lining
Once the outer cover is removed, clean the inner lining. A quick spray with Dawn Power Wash and a rinse with a hose works well. Allow the lining to dry completely in the shade.
Step 2: Creating a Fabric Template
Deconstruct the Original Cover
Carefully cut apart the original fabric cover at the seams. Ensure each panel is the same size, and use one panel as your cutting template.
Trace and Cut New Fabric
- Place the template on the back side of your chosen fabric
- Trace around the template, leaving about a 1-inch border
- Use a water-erasable pen for easy marking
- Cut out four fabric panels, making them slightly larger to provide wiggle room during application
Step 3: Attaching the New Fabric
Glue the First Panel
- Use a hot glue gun on high temperature
- Start by gluing the top edge, leaving some fabric overhang
- Glue the sides, focusing on the two outer bars and skipping the middle bar
- Pull the fabric taut as you glue to prevent wrinkles
Attach Remaining Panels
- Glue the panel directly opposite the first one
- Follow the same technique: top edge, sides, and bottom
- Pull fabric tightly and adjust as needed
- Trim excess fabric after each panel is attached
Step 4: Adding Trim
Create Custom Trim
- Cut fabric strips slightly wider than the original trim
- Fold and iron edges to create a neat, finished look
- Use tacky glue to secure folded edges
Attach Trim to Panels
- Use tacky glue to attach trim pieces
- Cover the unfinished edges of each fabric panel
- Also cover any remaining bars on the frame to match the original design
Bottom and Top Trim
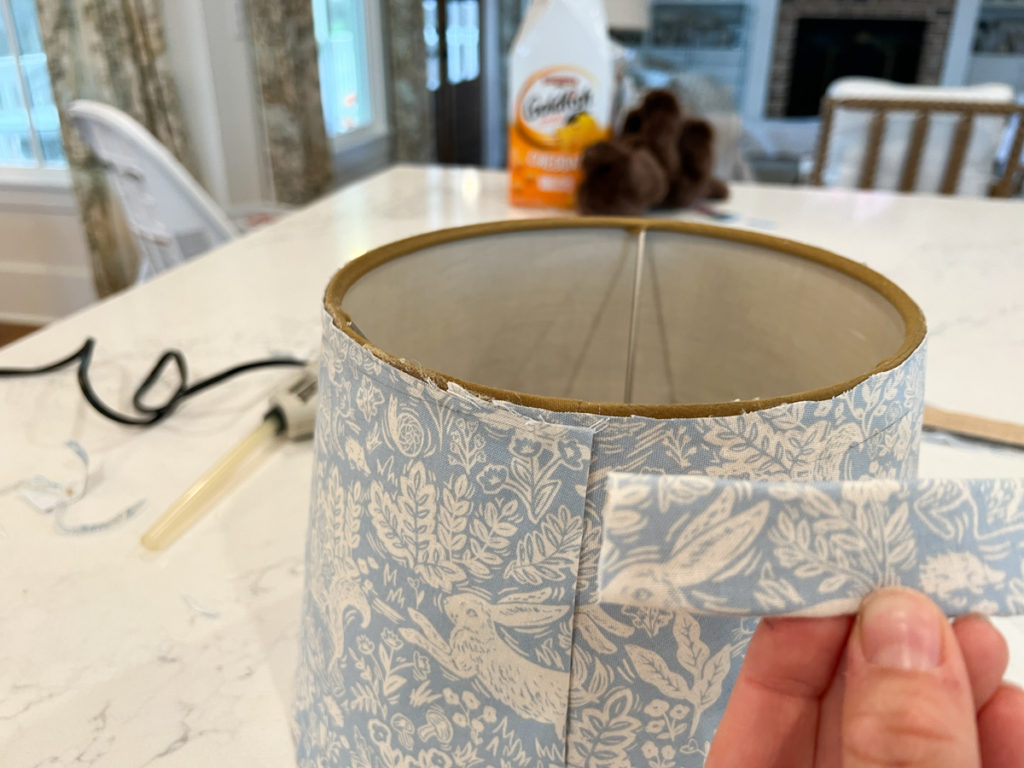
- Create longer bias tape pieces by joining fabric strips
- Fold and iron the strips to create a clean, finished look
- Glue the trim to the bottom and top of the lampshade, folding it over the edge
Final Touches
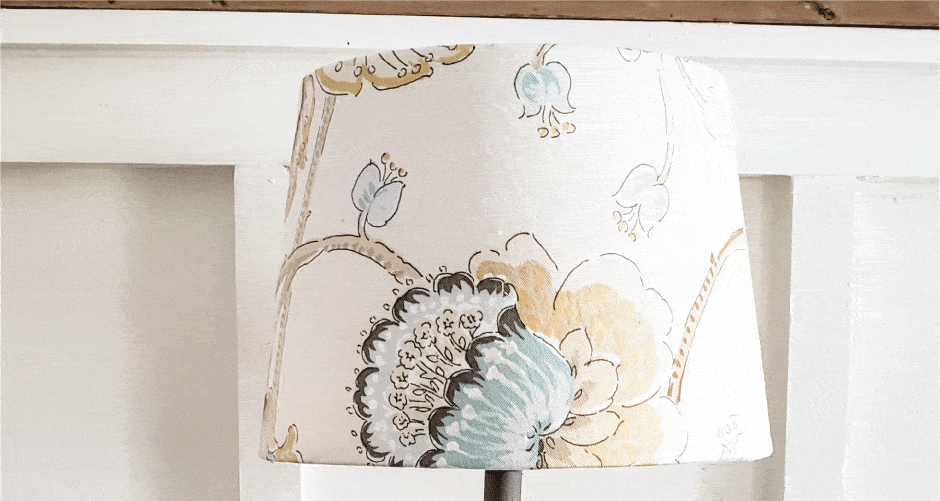
Trim any excess fabric or trim, ensuring a clean, professional finish. Your newly recovered lampshade is now ready to illuminate your space with style!
Tips and Tricks
- Take your time when gluing to avoid wrinkles
- Use tacky glue for more working time compared to hot glue
- Choose a fabric that complements your room’s decor
- Practice patience, especially when attaching the first panel
Conclusion
Recovering a lampshade is an easy and rewarding DIY project that can transform your space without breaking the bank. With some basic materials and a bit of creativity, you can give new life to an old lamp and express your personal style.


